මං අද කරන්න යන්නේ මගේ netbeans IDE එක jMonkeyEngine එකත් එක්ක වැඩ කරන්න setup කරගන්න
එක. අපි බලමු කොහොමද කරන්නේ කියල. ඉස්සෙල්ලම අපි download කර ගත්තු zip file එක unzip කරගන්න ඕනි.
එතකොට මෙන්න මේ ආකාරයෙන් තමයි දිස් වෙන්නේ.

දැන් ඒක පැත්තකින් තියලා අපි යමු netbeans IDE දිහාවට.
මේ පහලින් තියෙන්නේ netbeans IDE එක. අපි ඉස්සෙල්ලම අලුත් project එකක් හදන්න ඕන.
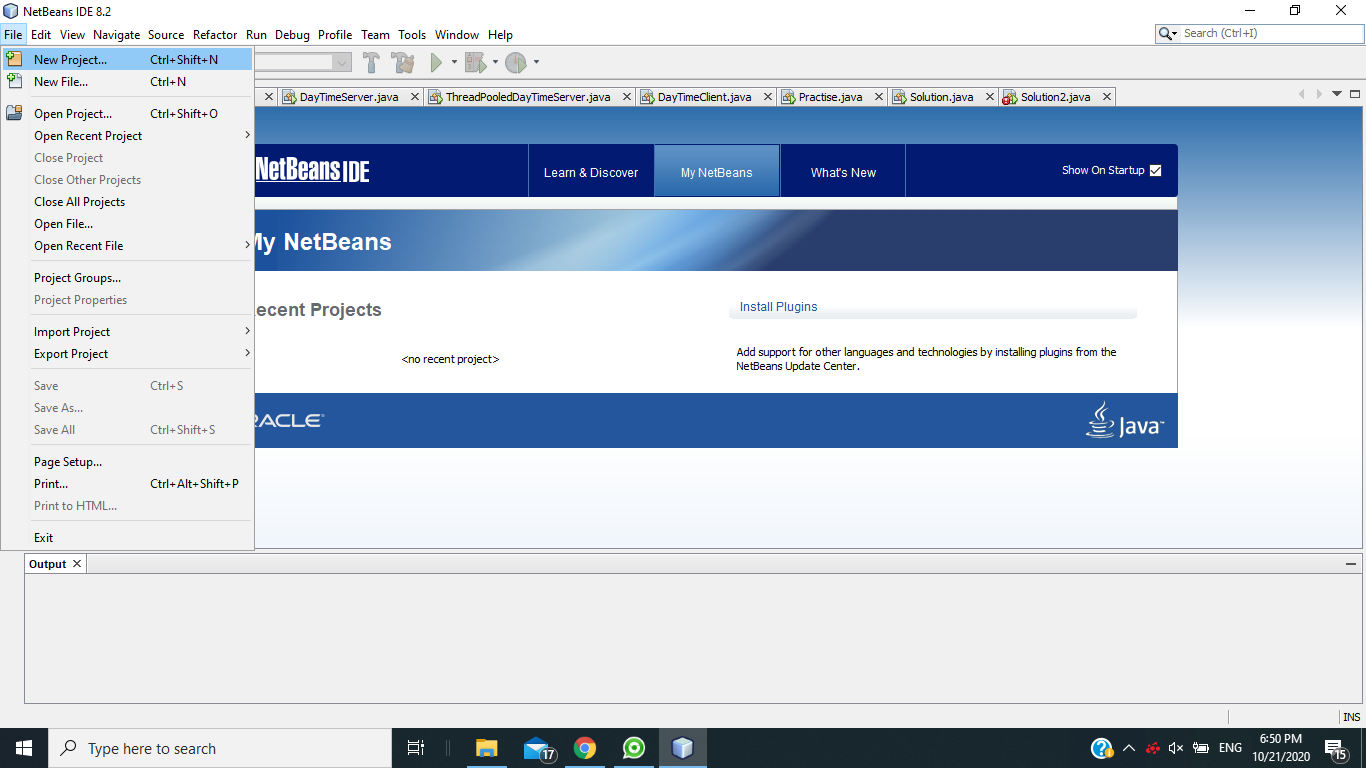
File => new project මගීන් අලුත් project එකක් හදන්න පුළුවන්
Java Application තෝරන්න.

මේ ආකාරයෙන් project එකට නමක් සහ save වන ලොකේෂන් එක ලබාදෙන්න

Project එක create උනාට පස්සේ මේ ආකාරයෙන් බලාගන්න පුළුවන්. දැන් අපි jmonkey engine
run කරන්න ඕන JAR File ටික add කරගන්න ඕන.
ඒකට ්රොජෙක්ට් එකේ LIbrary folder එකමත right click කරලා Add JAR/Folder select කරන්න.

ඊට පස්සේ unzip කරගත්ත folder එකේ lib එකට ගිහින් ඒක ඇතුළෙ තියෙන ඔක්කොම JAR ෆයිල්
ටික select කරලා ඕපන් දෙන්න

ඊට පස්සේ project එක උඩ right click කරලා project properties යන්න.
ඒකෙ තියෙන run tab එකට යන්න. දැන් අපි run වෙන්න ඕන configuration ලබා දෙන්න ඕන.

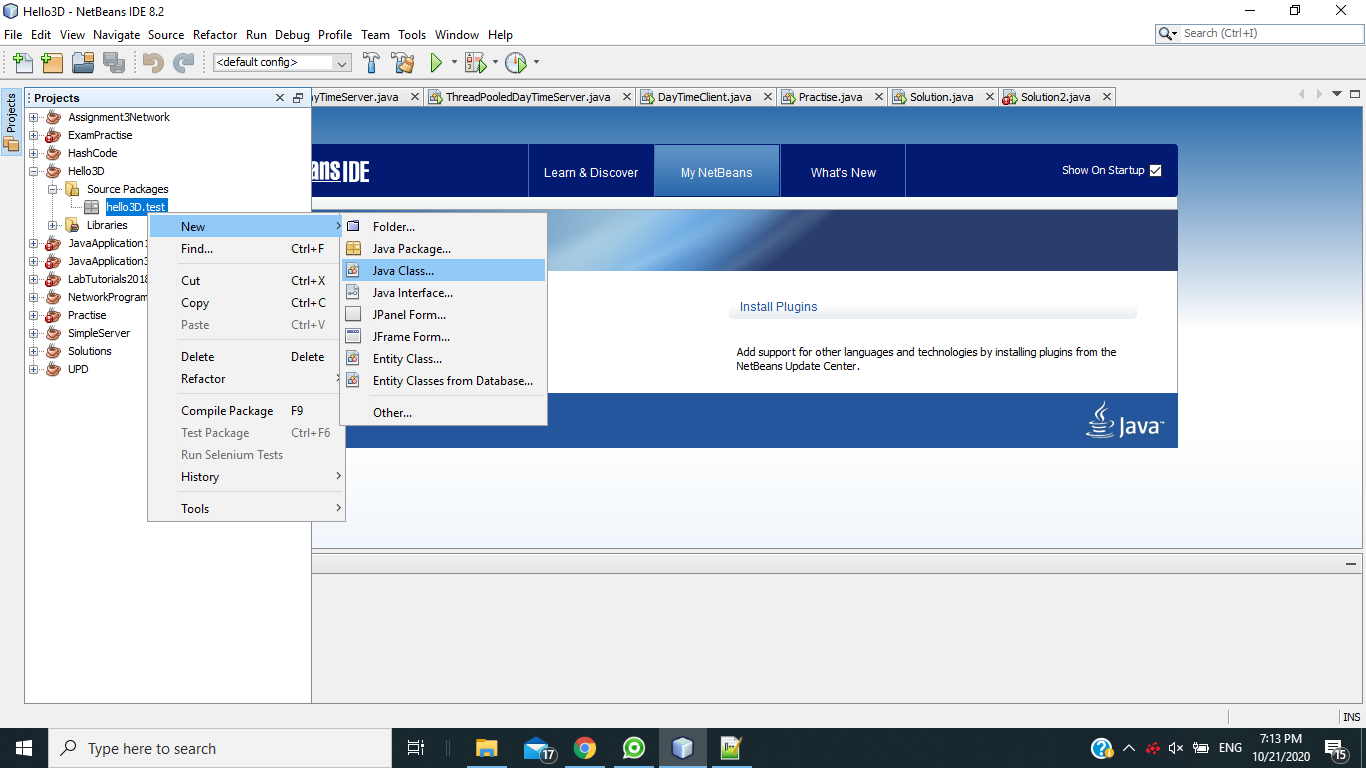
ඊට පස්සේ අපි අලුතෙන් පැකේජ් එකක් හදා ගන්න ඕනේ.

ඊට පස්සේ ඒ පැකේජ් එකට අලුත් java class එකක් එකතු කර ගන්න ඕන.
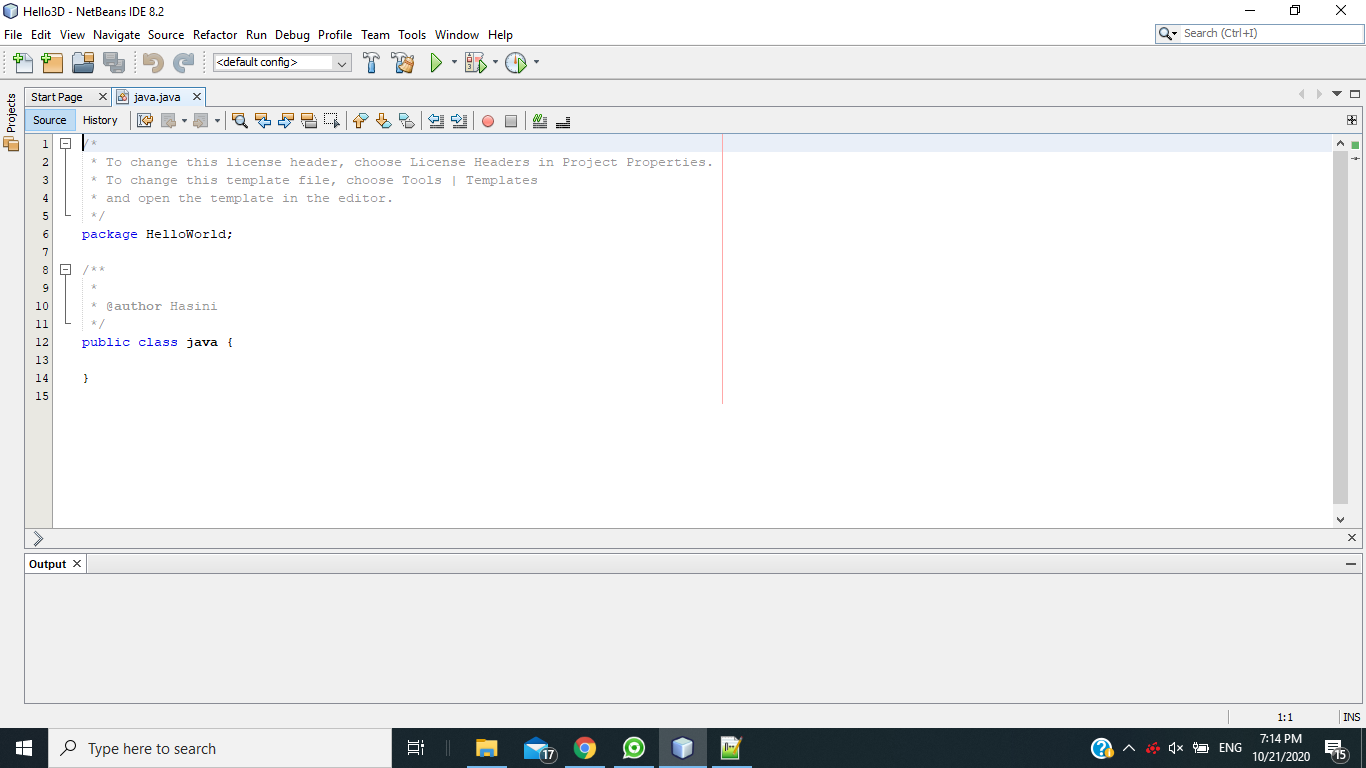
එතකොට මෙන්න මේ ආකාරයෙන් තමයි java class එක පේන්නේ.
දැන් මේ පහල code එක copy කරලා paste කරන්න. මතක ඇතුව මේ code එකේ තියෙන class name එක
ඔයාගේ class name එක විදිහට වෙනස් කරන්න.
package hello3D.test;
import com.jme3.app.SimpleApplication;
import com.jme3.material.Material;
import com.jme3.scene.Geometry;
import com.jme3.scene.shape.Box;
import com.jme3.math.ColorRGBA;
/** Sample 1 - how to get started with the most simple JME 3 application.
* Display a blue 3D cube and view from all sides by
* moving the mouse and pressing the WASD keys. */
public class HelloWorld extends SimpleApplication {
public static void main(String[] args){
HelloWorld app = new HelloWorld();
app.start(); // start the game
}
@Override
public void simpleInitApp() {
Box b = new Box(1, 1, 1); // create cube shape
Geometry geom = new Geometry("Box", b); // create cube geometry from the shape
Material mat = new Material(assetManager,
"Common/MatDefs/Misc/Unshaded.j3md"); // create a simple material
mat.setColor("Color", ColorRGBA.Blue); // set color of material to blue
geom.setMaterial(mat); // set the cube's material
rootNode.attachChild(geom); // make the cube appear in the scene
}
}
දැන් ඔක්කොම හරි. අපි දැන් අපේ project එක run කරල බලමු.
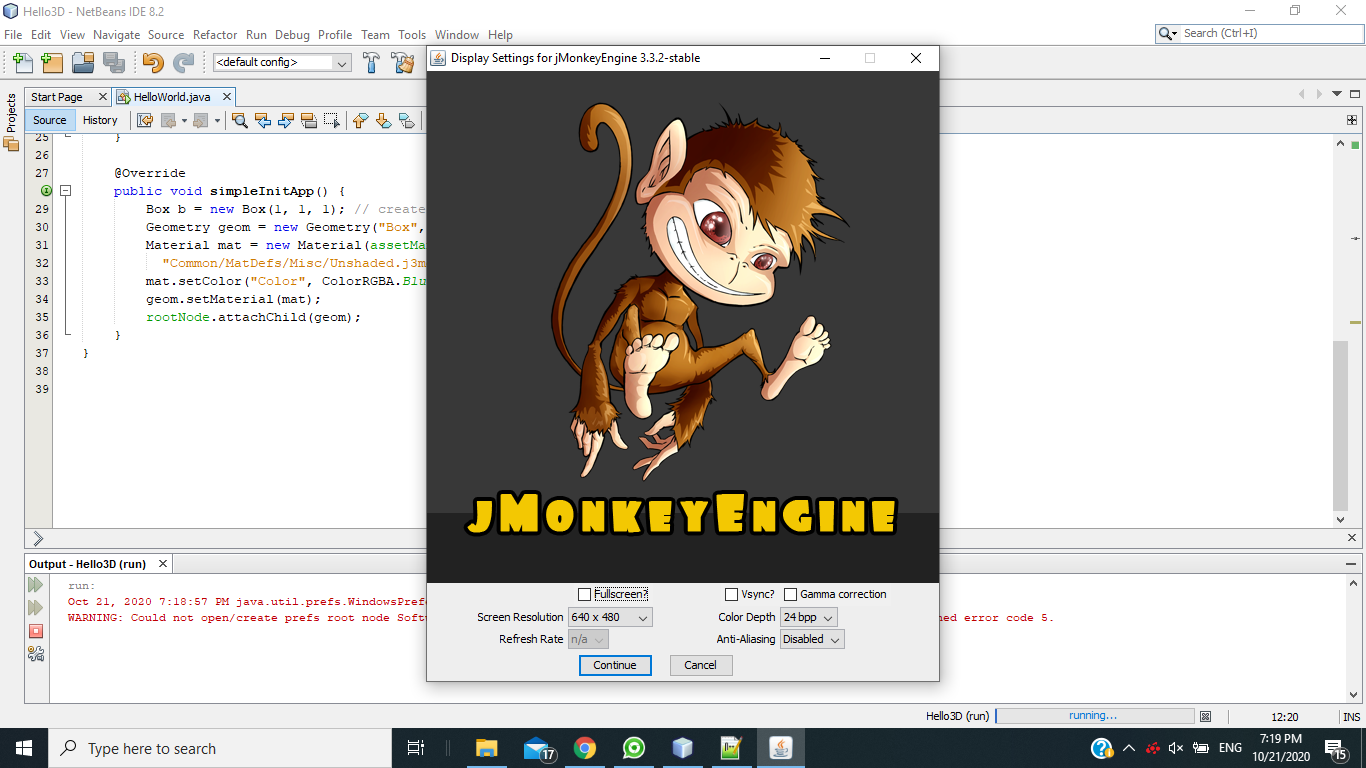
Run කරද්දි මුලින්ම වෙන්න මේ වගේ screen එකක් එයි. එක continue දෙන්න.
අපි ඇත්තටම මේ code එකෙන් කරේ නිල් පාට box එකක් හදන එක. අපි අනිත් 3d modeling software ගත්තොත්
අපිට ඕනේ object drag and drop කරන්න පුළුවන්. ඒත් මේකෙ ඒ හැම object එකක්ම හදන්න වෙන්නේ
කෝඩ් කරලා.

සුදු පාටින් සදහන් කරලා තියෙන keys පාවිච්චි කරල object එක rotate කරන්න පුළුවන්.
මම ඊළඟ පෝස්ට් එකෙන් code එක explain කරන්නම්.
ස්තුතියි
-Hasini Senanayaka-


0 comments:
Post a Comment