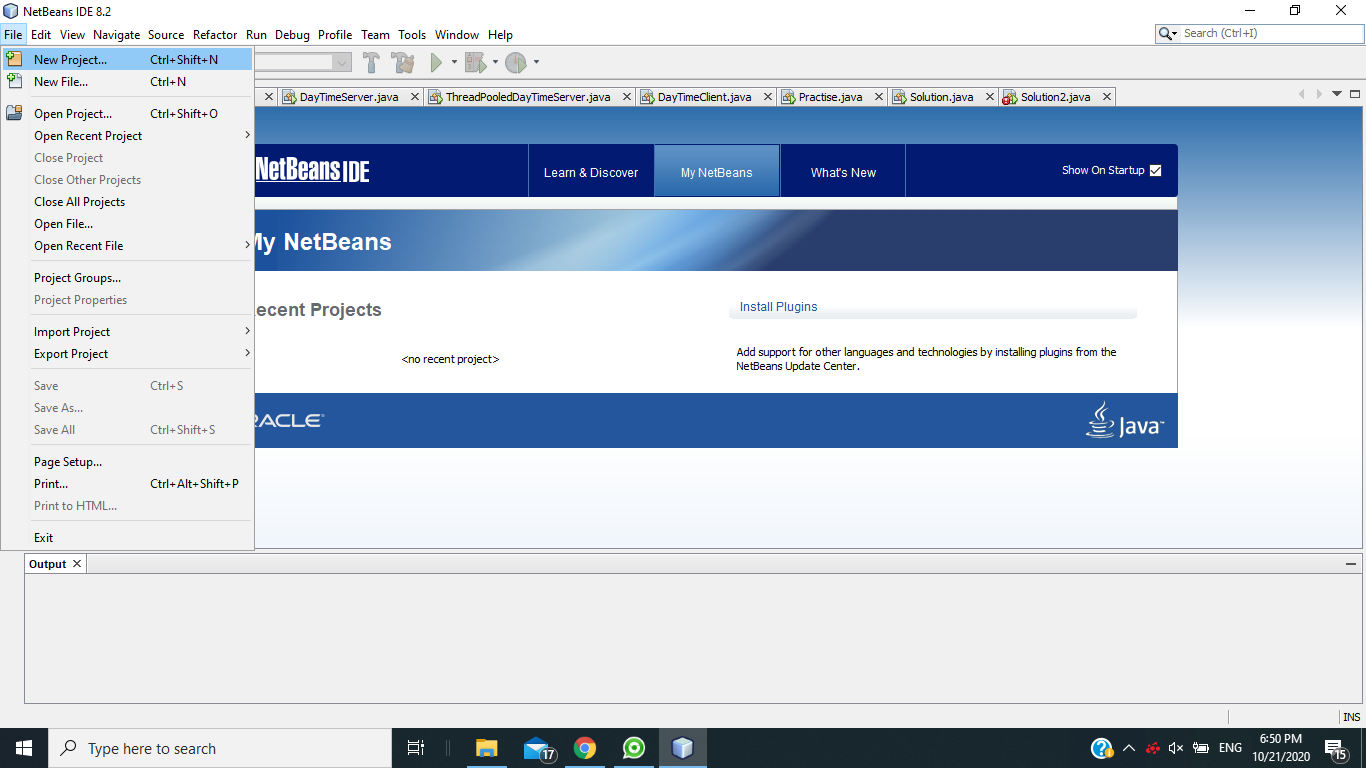
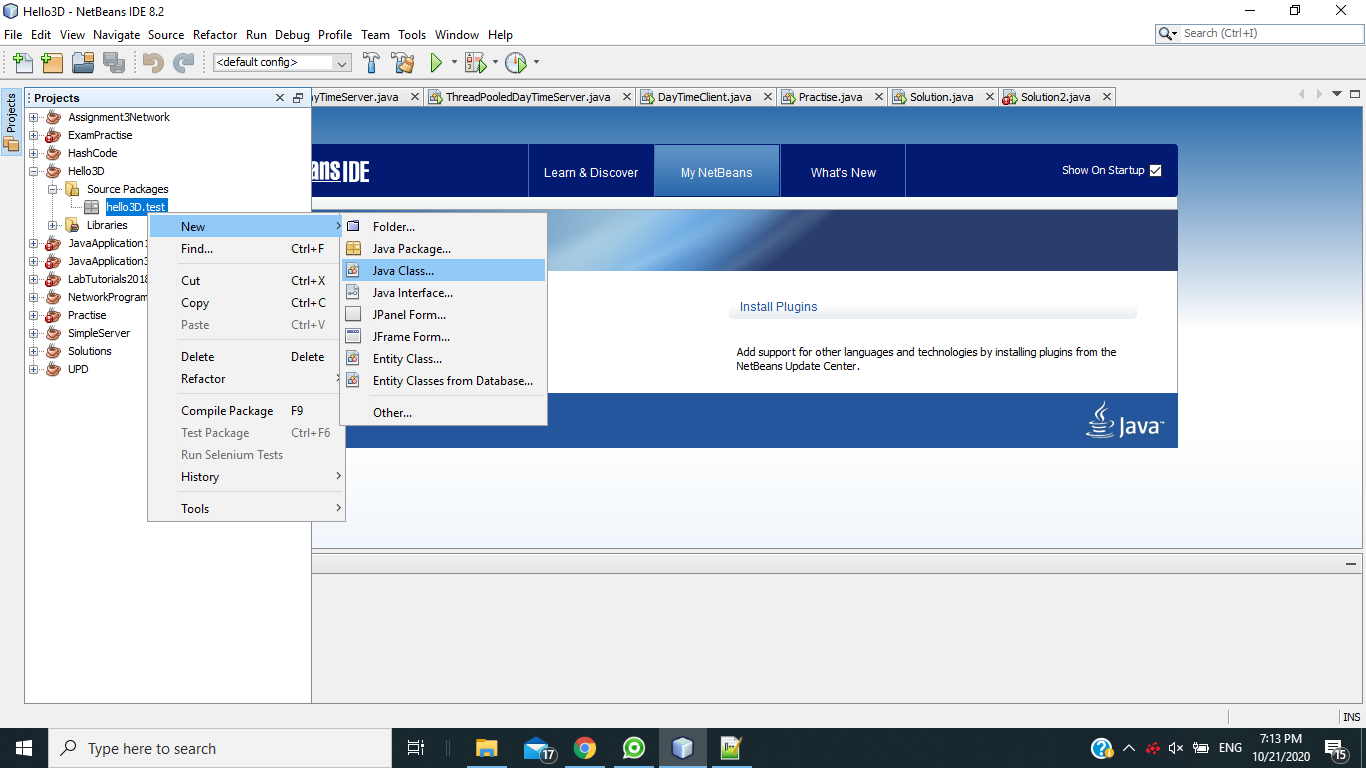
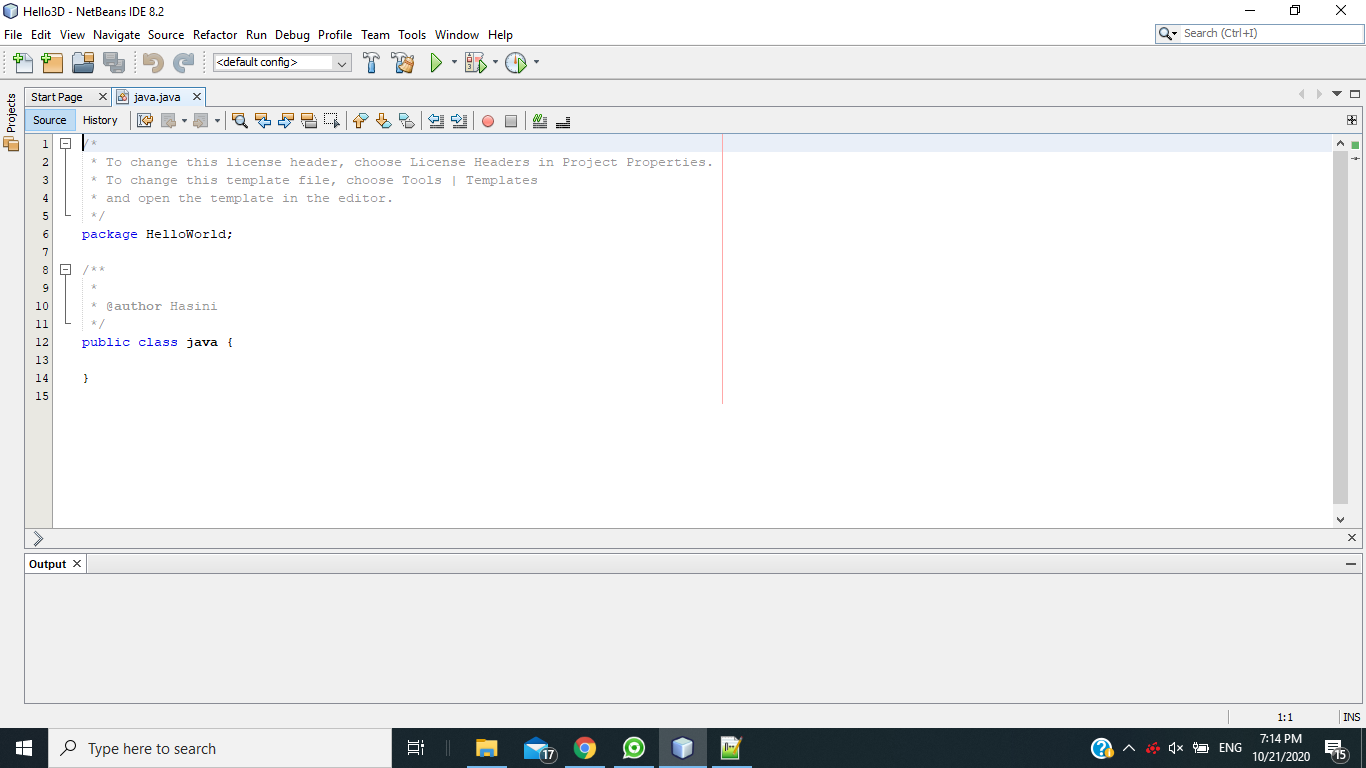
3D games සාමාන්යයෙන් full-screen window එකක play කරන්නේ. කෙසේ වෙතත් standard Swing application එකක jME 3 canvas කැන්වස් එකක් embed කරන්න පුළුවන්. ඒක තමයි අද අපි මේ කරන්න යන්නේ. මේක ප්රයෝජනවත් වන්නේ ඔයා user interface එකක interactive 3D viewer එකක් වගේ දානවානම්. උදාහරණයක් ලෙස interactive scientific demo එකක්, level editor එකක් හෝ game character designer එකක් ගන්න පුළුවන්.
මේ පහළ තියෙන්නේ interactive scientific demo එකක්. එකේ 3D viewer එකක් UI ඇතුලේ embed කරලා තියෙනවා.
 |
Code city - Used to visualize source code 3 dimensionally.
|
SimpleApplication හි කැමරාව mouse එක මගින් වෙනස් කරන්න පුළුවන් උනත් swing application එකක එහෙම කරන්න බැහැ. ඒ නිසා වෙනම camera action එක define කරන්න ඕනේ මේ වගේ.
public void simpleInitApp() {
flyCam.setDragToRotate(true);
...
}
මෙහිදී වෙනස් වන ප්රධාන දෙය වන්නේ main() method එකය. අපි සුපුරුදු විදියට start() method එක call කරන්නේ නැහැ. ඒ වෙනුවට අපි Runnable() එකක් හදල ඒකින් Swing jFrame නිර්මාණය කරනවා.ඊට පස්සේ jFrame එකට Canvas එකක් එකතු කරලා startCanvas() මගින් game එක run කරනවා.
Swing එක thread-safe නැහැ. ඒ නිසා canvas එකත් up-to-date නැහැ. ඒ නිසා තමයි runnable එකක් යොදා ගන්නේ.
public static void main(String[] args) {
java.awt.EventQueue.invokeLater(new Runnable() {
public void run() {
}
});
}
Here in the run() method, we start the jME application, create its canvas, create a Swing frame, and add everything together.
com.jme3.system.AppSettings වලින් Swing panel එකේ size එක specify කරන්න ඕනේ.
AppSettings settings = new AppSettings(true);
settings.setWidth(640);
settings.setHeight(480);
මෙහෙම තමයි canvas එකක් හදන්නේ. com.jme3.system.JmeCanvasContext මගින් canvas එක configure කරගන්න පුළුවන්. setSystemListener() මගින් canvas එක අදාළ events(creation , destroy, update) Listener එකට යැවීම සිදු කරනවා..
SwingCanvasTest canvasApplication = new SwingCanvasTest();
canvasApplication.setSettings(settings);
canvasApplication.createCanvas();
JmeCanvasContext ctx = (JmeCanvasContext) canvasApplication.getContext();
ctx.setSystemListener(canvasApplication);
Dimension dim = new Dimension(640, 480);
ctx.getCanvas().setPreferredSize(dim);
මෙහම තමයි jFrame එකක් හදන්නේ.
JFrame window = new JFrame("Swing Application");
window.setDefaultCloseOperation(JFrame.EXIT_ON_CLOSE);
ඊට පස්සේ JPanel එකක් create කර ගන්න ඕනේ JFrame එක ඇතුලේ.
JPanel panel = new JPanel(new FlowLayout());
panel.add(new JButton("Some Swing Component"));
...
panel.add(ctx.getCanvas());JPanel එක JFrame එක ඇතුලට add කරන්නේ මේ විදියට.
window.add(panel);
window.pack();
window.setVisible(true);
application එක start කරන්න startCanvas() method එක call කරන්න ඕනේ.
canvasApplication.startCanvas();
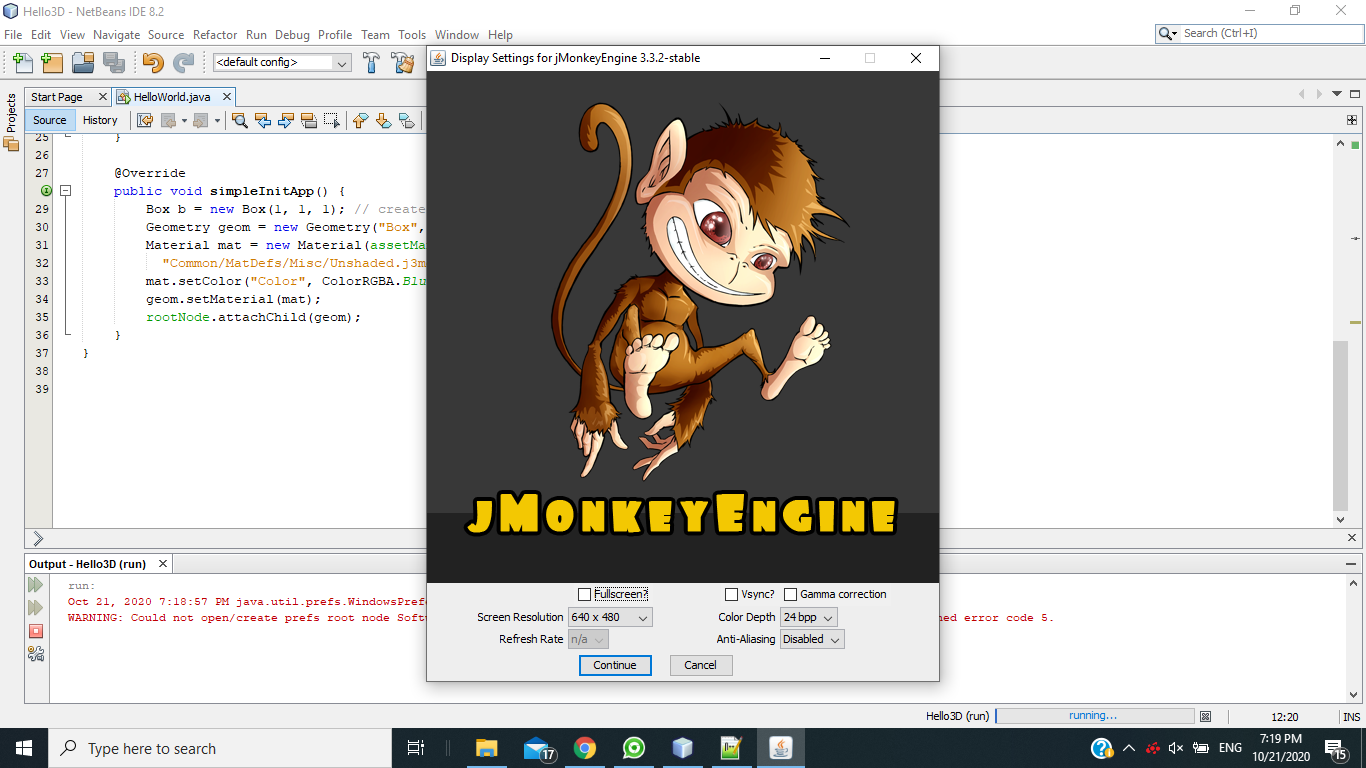
මේ පහල තියෙන්නේ full code එක. එහෙනම් compile කරලා බලන්නකෝ. මොනවා හරි ප්රශ්නයක් ආවොත් පහලින් comment එකක් දාන්න. එහෙනම් මම නවතිනවා. අලුත් පෝස්ට් එකකින් හම්බ වෙමු.
package hello3D.test;
import com.jme3.app.SimpleApplication;
import com.jme3.material.Material;
import com.jme3.scene.Geometry;
import com.jme3.scene.shape.Box;
import com.jme3.math.ColorRGBA;
import com.jme3.app.LegacyApplication;
import com.jme3.system.AppSettings;
import com.jme3.system.JmeCanvasContext;
import com.jme3.util.JmeFormatter;
import java.awt.BorderLayout;
import java.awt.Canvas;
import java.awt.Container;
import java.awt.Dimension;
import java.awt.FlowLayout;
import java.awt.Panel;
import java.awt.event.ActionEvent;
import java.awt.event.ActionListener;
import java.awt.event.WindowAdapter;
import java.awt.event.WindowEvent;
import java.util.concurrent.Callable;
import java.util.logging.ConsoleHandler;
import java.util.logging.Handler;
import java.util.logging.Logger;
import javax.swing.*;
public class HelloWorld extends SimpleApplication {
public static void main(String[] args) {
java.awt.EventQueue.invokeLater(new Runnable() {
public void run() {
// create new JME appsettings
AppSettings settings = new AppSettings(true);
settings.setWidth(640);
settings.setHeight(480);
// create new canvas application
HelloWorld canvasApplication = new HelloWorld();
canvasApplication.setSettings(settings);
canvasApplication.createCanvas(); // create canvas!
JmeCanvasContext ctx = (JmeCanvasContext) canvasApplication.getContext();
ctx.setSystemListener(canvasApplication);
Dimension dim = new Dimension(640, 480);
ctx.getCanvas().setPreferredSize(dim);
JFrame window = new JFrame("Swing Application");
window.setDefaultCloseOperation(JFrame.EXIT_ON_CLOSE);
JPanel panel = new JPanel(new FlowLayout()); // a panel
// add all your Swing components ...
panel.add(new JButton("Some Swing Component"));
// add the JME canvas
panel.add(ctx.getCanvas());
window.add(panel);
window.pack();
window.setVisible(true);
canvasApplication.startCanvas();
}
});
}
@Override
public void simpleInitApp() {
// activate windowed input behaviour
flyCam.setDragToRotate(true);
// Set up inputs and load your scene as usual
Box b = new Box(1, 1, 1); // create cube shape
Geometry geom = new Geometry("Box", b); // create cube geometry from the shape
Material mat = new Material(assetManager,
"Common/MatDefs/Misc/Unshaded.j3md"); // create a simple material
mat.setColor("Color", ColorRGBA.Blue); // set color of material to blue
geom.setMaterial(mat); // set the cube's material
rootNode.attachChild(geom); // make the cube appear in the scene
}
}